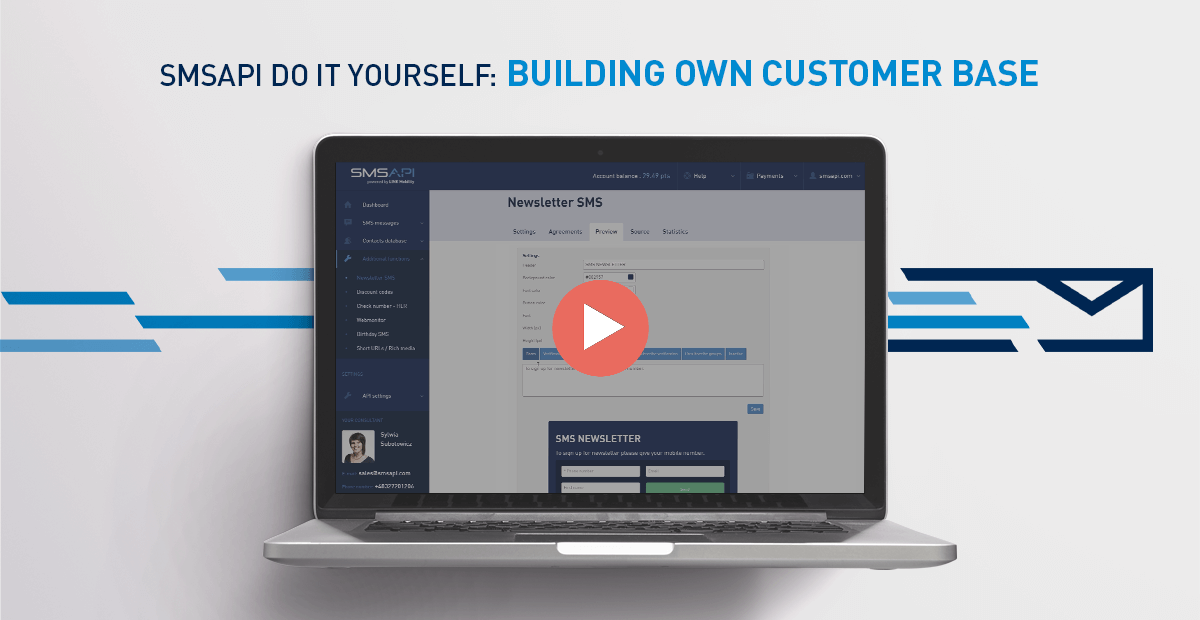
Welcome to the next part of the SMSAPI “Do it yourself” Guide. In this episode, you’ll learn about the SMSAPI tool that lets you build your customer base – SMS Newsletter.
Learn how to collect contacts with the Newsletter SMS widget
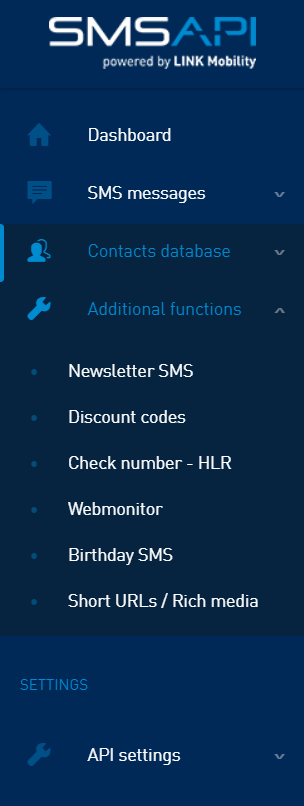
You will find the Newsletter SMS widget settings in the Additional functions tab. This feature allows you to place the form anywhere on your website. It provides the customers with an easy way to subscribe directly to your database in SMSAPI. By default, this function is inactive, so please activate it once the configuration is completed.
Newsletter SMS widget

In the beginning, you have to choose the subscription type. You can pick either entering the selected group, which you have to specify in advance or give the user a choice when filling out the form.
In addition to the phone number, you can decide which additional and custom fields should appear in the form and which are required.
Below you can find SMS message settings. Remember to select the sender name from which a verification SMS will be sent.
To encourage potential contacts to subscribe to your database, you might give a discount code. To do so, you must select a group of discount codes. Such a group can be created or uploaded in the Discount codes section.
You can also limit the number of requests received from a single number within 24 hours.
Edit SMS notifications
Then create or modify the content of three types of SMS notifications: verification, confirmation of a complete subscription and after unsubscribing. Also, each message may contain the “name” parameter and an opt-out link for a quick unsubscription. We strongly recommend inserting the verify code parameter in Verification SMS because it helps you authorise the user with an SMS message.
You can also enter your phone number, which will be notified when a new contact has been subscribed. To skip sending an SMS after subscribing and unsubscribing from the newsletter, leave the SMS field blank.
SMS Newsletter – a GDPR-compliant solution
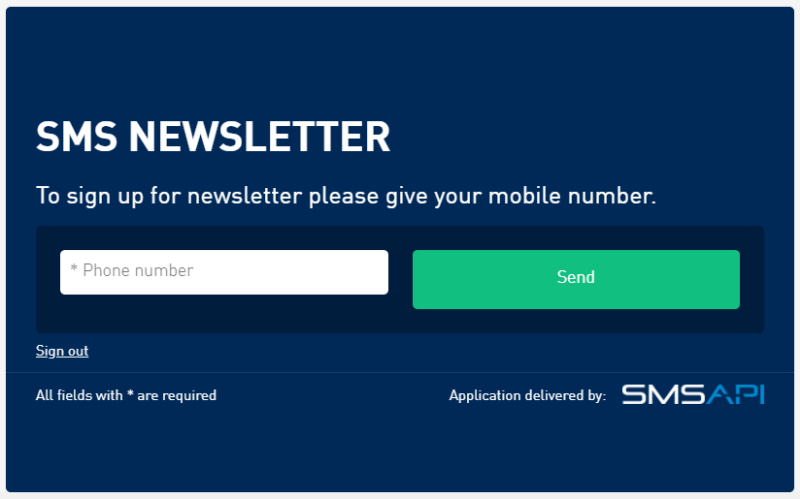
Design your Newsletter SMS form
The Preview section allows you to design the form: header, background colour, font colour, button, font, width and height in pixels, and messages displayed on the form after completing the steps listed.
After a complete configuration, activate the application by selecting YES in the “Settings” tab and clicking “Save”. The last step is the “Source” tab, in which it is possible to provide a direct link to the form or copy the widget code and place the selected configuration on your website.
It is worth remembering that the application will be active if there are at least 6 points on the account to ensure the SMS delivery with a verification code. Newsletter SMS statistics are located in the last tab.
Next step: SMS Campaigns from the File
SMSAPI Do it yourself series:
- Customer Portal Walkthrough
- First Steps in the Customer Portal
- SMS Gateway
- Contact Database
- Building Your Own Customer Base with Newsletter SMS
- SMS Campaigns from the File
- Birthday SMS and Periodic SMS
- History and Reports
- Shortened Links cut.li
- Users Management


